While they are tiny, stickers require some attention to detail when it comes to printing. After all, you would definitely want to leave an impression when you print your stickers. It would be unfortunate if you have printed your stickers only to find out the result wasn't what you expected, or that the design and specifications were unsuited for the intended application. Fortunately this could all be avoided, as we at Gogoprint got you covered! As here is our DO’s and DON’Ts in sticker printing before you order stickers :)
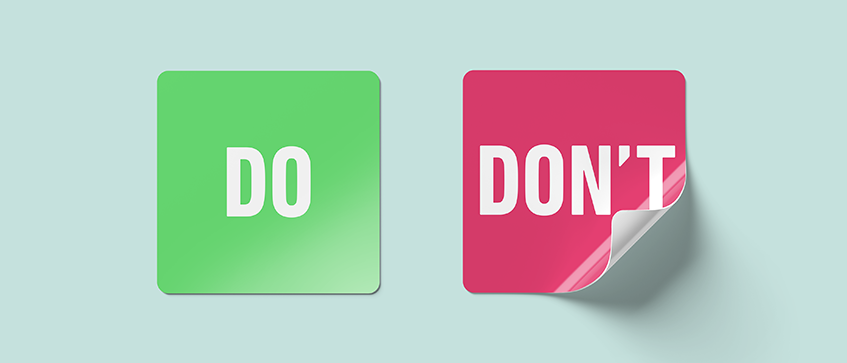
The DO’s
1. Be wary of the sticker material
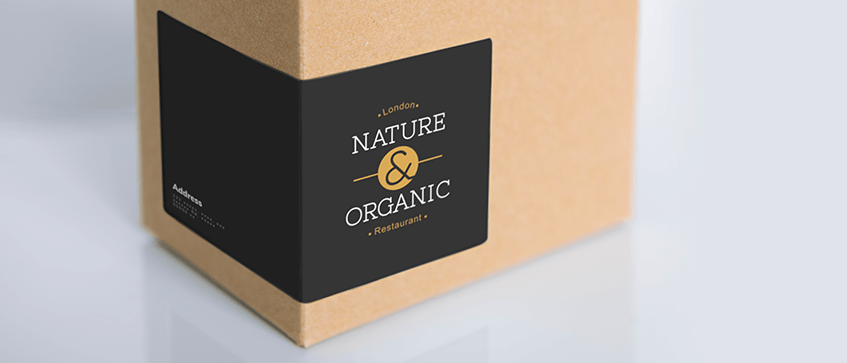
One of the most overlooked factors when printing stickers is the material used. It is important and professional to know what you are printing on as different materials come with different characteristics. Simili stickers are not waterproof thus they are not suitable to be refrigerated for example. Knowing more about these sticker materials can help you decide better when you plan to print your sticker. Our previous article has covered the different characteristics of our sticker materials in detail, take a look to know more about them. Remember, material matters!
2. Be careful when printing light colors or “white”
Speaking of materials, certain unique materials such as kraft, transparent and silver stickers need to be paid attention to, especially when it comes to printing light colors on these materials! Due to the base color of these materials, light ink can be heavily affected when printed. For example, when light pink is applied on transparent stickers, it will not be very visible when pasted on dark colored objects. As for “white” color, if it is CMYK (process) printing, it cannot be printed on these materials at all! Instead, a special ink (spot color) needs to be used on these specific materials. Fret not however, as currently our silver stickers and roll stickers offer to print white on stickers, feel free to check them out!
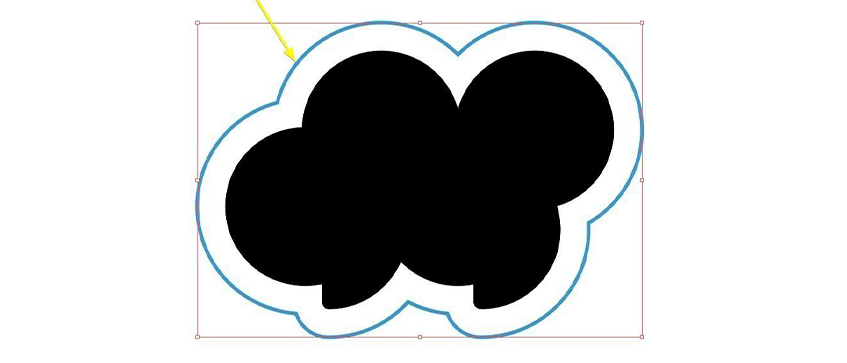
3. Create die-cut in vector format
Stickers are just like cookies, they need a cookie cutter (die-cut) to have their shape! As for how to create the cookie cutter, it will be creating a shape in vector format. Vectors are graphic elements that can be created by certain softwares (eg. Adobe Illustrator). It is also mandatory for the die-cut to be in vector format, any form of raster die-cuts is a no-no!
For a guide to create die-cut vector for stickers, you can refer to our previous tutorial.
The DON’Ts
1. Print illegible words
One of the most common mistakes when it comes to printing is the legibility of text. As small as stickers can be, the text size cannot be smaller than 6pt. Any smaller will result in a sticker with unclear words. This can be challenging when designing tiny stickers (size eg. 3x3cm), but do prioritize the readability of the text before anything else, text size matters!
2. Create overcomplicated die-cuts
Just like cookie cutters, unfortunately die-cuts have their limitations as well. Depending on the shape, certain over-complicated die-cuts cannot be done on stickers, let's say a 70-pointed star for example. That said, good news is our die-cuts can cut better than cookie cutters! Just don’t overdo the shapes and over-stress our machine. :)

3. Create your sticker with the wrong dimensions
It is as any other artwork that needs printing, your canvas should be exactly as the size to be printed. This is because having the wrong size dimensions can skew your perspective of the artwork. Creating a 3x3cm sticker for example would mean you need to set your canvas as 3x3cm as well. To avoid printing ‘accidents’, you can never go wrong by setting your sticker dimensions as the size it should be.

Wrap up
Now that you’ve seen our DO’s and DON’Ts on stickers, you can now get started on sticker printing with us in Gogoprint.We offer various types of stickers with plenty of paper materials to choose from. Just be sure to double check your content, or check out our other blog for more in-depth information about stickers!