


STEP 1Choose Your Options
Need help configuring your product or preparing your artwork?
50490, Kuala Lumpur
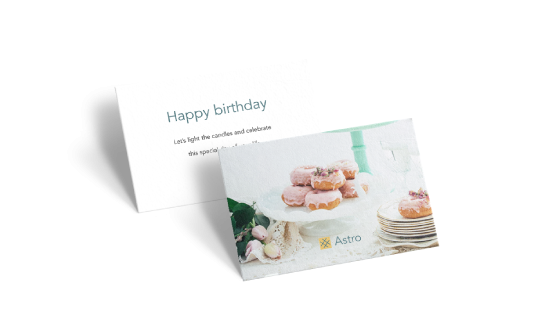
Greeting Cards
Format
Choose Format
Can't find the size you need?
Infos & Tips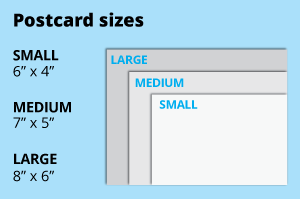 For the greeting cards, choose from the popular 4x6, 5x7 or 6x8 inch dimensions, ideal for standard envelopes. Opt for a larger size for bigger artwork or create a custom size with ease.
For the greeting cards, choose from the popular 4x6, 5x7 or 6x8 inch dimensions, ideal for standard envelopes. Opt for a larger size for bigger artwork or create a custom size with ease.How to choose the right size?
postcard "If you have an artwork, check the size using Adobe Acrobat's 'Check Document Property' feature; find more info here If you do not have an Artwork file ready, feel free to use any one of the templates provided for the standard sizes. "Should I use inches or cm?
Our standard unit is inches; feel free to convert your artwork from different units.Side Of Print
Choose Side Of Print
Infos & Tips Select single or double-sided printing for your product.
Select single or double-sided printing for your product.How to choose your option?
For single-sided printing, choose if the second page is blank. Opt for double-sided printing if both sides have content, including the page with lines as artwork.What's more popular?
For a popular choice, opt for printing on both sides, to print lines to provide a written area. Unsure? Refer to our backside printing sample artwork.Paper Type
Choose Paper Type
Infos & Tips Our materials highlight the natural texture of the paper on one side, perfect for a personalized touch.
Our materials highlight the natural texture of the paper on one side, perfect for a personalized touch.Curious about the difference between the variety of papers that we offer?
Opt for the sturdier 260g Art Card for a premium feel, or choose the more economical 157g Art Paper. Similarly, when considering 300g Beyond Paper and 310g Art Card, select the 310g Art Card for its robust quality, or go for the sustainable option of 300g Beyond Paper.Finishing
Choose Finishing
Infos & Tips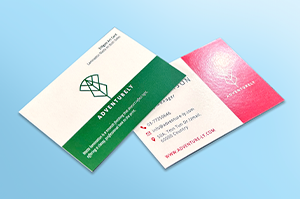 Discover our wide array of synthetic finishes designed to enhance your product.
Discover our wide array of synthetic finishes designed to enhance your product.Wondering how to select the most suitable finishing for your needs?
Opt for matte lamination on both sides for a consistent, non-glossy texture, or choose glossy lamination on both sides for a sleek, shiny appearance. For an indulgent feel, consider matte lamination on both sides with spot varnish on the front only, adding subtle sophistication to your design.Spot Varnish Area
Choose Spot Varnish Area
Infos & Tips Use this option when you want to draw attention to specific details, such as logos, text, or images, without covering the entire surface.
Use this option when you want to draw attention to specific details, such as logos, text, or images, without covering the entire surface.How to choose which finishing is suitable for you?
Spot varnish near the edge for spot varnish effect that stretches to the edge while within margin on for specific spots on your artwork that you wish to highlightEnvelopes (No printing available)
Choose Envelopes (No printing available)
Infos & Tips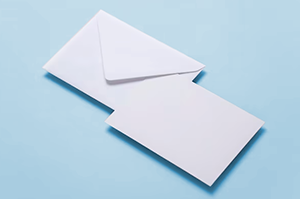 Explore our selection of blank envelopes, perfect for various formal occasions.
Explore our selection of blank envelopes, perfect for various formal occasions.Why offer envelopes without printing?
We prioritize versatility, allowing you to customize the envelope as needed for different events and purposes, ensuring it perfectly complements your desired setting.STEP 2
Choose a Quantity & Delivery Date
Please select the price below to see the cutoff time.
Quantities
Receive your products by
50 pcs
100 pcs
200 pcs
300 pcs
500 pcs
1,000 pcs
Fri, 16 May
Fastest
Mon, 19 May
Wed, 21 May
Cheapest
Can't find the quantity you're looking for? You can add a custom quantity you want
Set Custom Quantity


