Help
Talk to Us
+603 7890 1347
All Products
Need help? Reach out to us

Need Help with Your Order?

Reach out now for quick support!

Add whatsapp
Need help? Reach out to us

Single Sided A-Stand
Quick Links

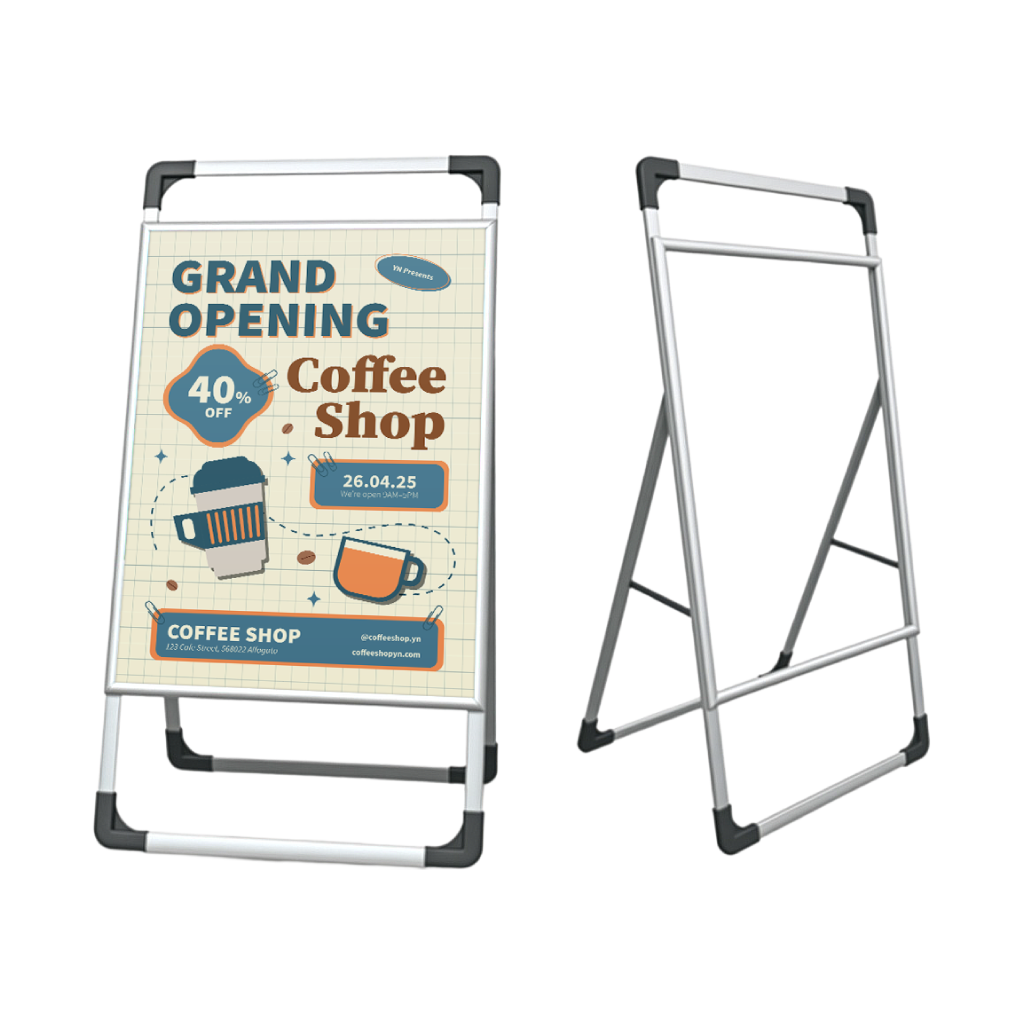
Single Sided A-Stands are one of the most versatile marketing tools for any business. They are a quick and inexpensive way to share your contact details with business partners or new potential clients and play an important role in creating a lasting first impression

MYR 118.13
Per 1 pcs
Fast Delivery
Product - 1
Product - 1
Don't know where to start from?
STEP 1Do you have a design ready?
STEP 2Choose Your Options
Need help configuring your product or preparing your artwork?
50490, Kuala Lumpur
Single Sided A-Stand
Format
Choose Format
Infos & Tips
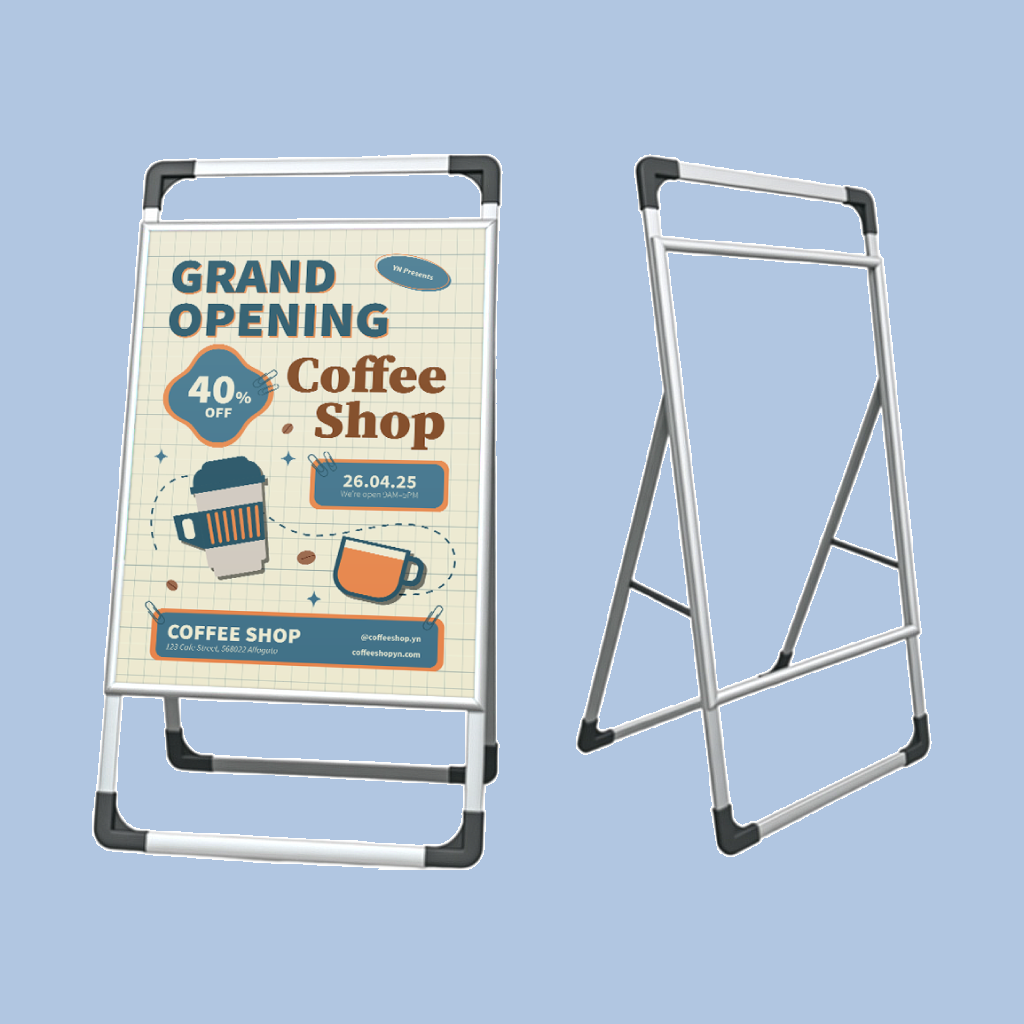
Our single-sided A-Stands are a compact, effective signage solution ideal for storefronts, events, and directional displays. Measuring 60cm x 90cm, it offers ample space for bold messaging while remaining easy to place and move.
How to choose the ideal size?If you have a design, verify its dimensions using Adobe Acrobat’s 'Check Document Property' function; learn more here. Don’t have a design yet? Use our templates specifically tailored for the available sizes.
Material
Choose Material
Infos & Tips
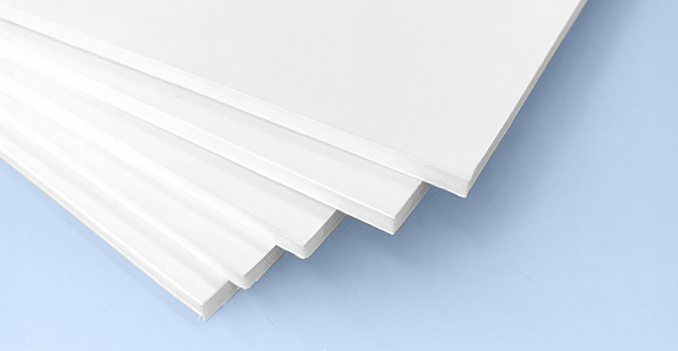
Add a classy and luxurious touch to your adjustable poster stand with our foam board framing options.
Our single-sided A-Stands are made from 5mm PP hollow board.PP hollow board is lightweight yet durable material ideal for indoor and short-term outdoor displays. It ensures your single-sided A-Stands remains upright and vibrant throughout your event or promotion.
Print in Full Color
Choose Print in Full Color
Infos & TipsOur single-sided A-Stands feature full-colour printing to ensure your message is vibrant, sharp, and focused in the direction that matters most.
Why only single sided printing?Since A-stands are typically placed against walls or oriented toward foot traffic from one side, printing on the reverse isn’t necessary. This approach keeps the display clean and professional while also being cost-effective, making it an efficient solution for targeted promotions, directional signage, or storefront advertising.
Stand Option
Choose Stand Option
Infos & TipsWe offer the option to include or exclude the stand if you already have a compatible stand.
A convienient all-in-one solution.If you do not already own an A stand or are looking for a convienent solution, choosing the Foam board printing + Stand option would provide a hassle free ready to assemble option to suit your needs
STEP 3

Choose a Quantity & Delivery Date

Please select the price below to see the cutoff time.
Quantities
Receive your products by
1 pcs
2 pcs
3 pcs
4 pcs
5 pcs
10 pcs
Tue, 28 Oct
Fastest
Can't find the quantity you're looking for? You can add a custom quantity you want
Set Custom Quantity

Product's quantity must be more than 1 pcs and less than 1,000 pcs. In the multiples of 1

Details about ordering Single Sided A-Stand:

  • Please note that our prices are already inclusive of the stand for your products
  • Please note, approximately 8cm at the top and bottom of the artwork will be used inside the base and hence cannot be seen.
  • To prepare and close your artwork files, please follow our guidelines here.
  • Please note that this product will require a Philips Head Screwdriver for installation.
Information
Artwork Preparation

Please follow our artwork preparation guidelines to ensure that your artwork file is set up correctly.

  • 1. Use CMYK colour mode

    Except for silkscreen and pad printing, files should be prepared in CMYK colour mode. Keep in mind that if the setup is wrong, colours on the finished product may differ from the file you sent. Here is how to set your artwork to CMYK colour mode in Adobe Illustrator.

  • 2. Use an image resolution of at least 150 DPI

    To avoid blurriness, use only images and graphics that have a resolution of 150 DPI or more. Before sending your files, make sure to embed your images into the file.

  • 3. Use the right values for grey elements

    When setting up grey elements, set the black color (K) to a percentage between 0 and 100, and keep all other colors (C, M, and Y) equal to 0%.

  • 4. Use the right values for black elements

    When setting up black text, thin lines and small elements, use pure black, i.e. C = 0, M = 0, Y = 0, K = 100).

  • 5. Use maximum 2 colours for lines that are finer than 2 pt

    If lines are 2 pt thick or less, use only 1 or 2 colours. 4 colours may be used for thicker lines.

  • 6. Convert all fonts to outlines, or embed them in your file

    To avoid issues with fonts when submitting your file(s), make sure to convert fonts to outlines, or to embed all fonts when saving to PDF.

  • 7. Save and upload your artwork files as PDF/X-1a

    The best format for submitting print-ready files is PDF, under the PDF/X-1a standard. Where possible, submit your files in PDF format. See why PDF/X-1a is the right format for printing.

  • 8. Check for overprint

    Make sure that no elements are set on overprint, unless you need them to be.

Templates

Our free templates provide you with all the information you need to correctly prepare your artwork files for printing. Simply download the template that matches your desired product configuration.

FAQ

If you have any questions about the product and ordering process, please have a look at our Frequently Asked Questions (FAQ) Click here!. If can't find your question in our FAQ section, you can reach our friendly customer support on +603 7890 1347.

  • 1. What is the fastest delivery for n?

    The fastest delivery time for n is d. Please note that you have to submit your order before 11:00 AM (AEST). Late payment or upload of your artwork might further delay your order. If you select Online Proof or Digital Proof Print during the checkout process, the production will only begin after your approval.

  • 2. How will my product be delivered?

    All of our products are delivered in a securely packed cardboard box.

  • 3. I can't find what I'm looking for. Can I request a quote?

    If you can't find what you need, please call our customer service team at the above-mentioned number to help you place an order. You can also request a quote from our customer service team for special product configurations that are not available on our website.

  • 4. How can I upload my files?

    Your file can be uploaded either before you checkout and pay, or after. Please note that uploading files late might result in a moved expected delivery date.

  • 5. Which formats can I upload?

    For n, please upload your files using the PDF or AI file format.

Guides and Tools

Everything you need to know to get your Artwork ready

Please follow our artwork preparation guidelines to ensure that your artwork file is set up correctly.

  • 1. Use CMYK colour mode

    Except for silkscreen and pad printing, files should be prepared in CMYK colour mode. Keep in mind that if the setup is wrong, colours on the finished product may differ from the file you sent. Here is how to set your artwork to CMYK colour mode in Adobe Illustrator.

  • 2. Use an image resolution of at least 150 DPI

    To avoid blurriness, use only images and graphics that have a resolution of 150 DPI or more. Before sending your files, make sure to embed your images into the file.

  • 3. Use the right values for grey elements

    When setting up grey elements, set the black color (K) to a percentage between 0 and 100, and keep all other colors (C, M, and Y) equal to 0%.

  • 4. Use the right values for black elements

    When setting up black text, thin lines and small elements, use pure black, i.e. C = 0, M = 0, Y = 0, K = 100).

  • 5. Use maximum 2 colours for lines that are finer than 2 pt

    If lines are 2 pt thick or less, use only 1 or 2 colours. 4 colours may be used for thicker lines.

  • 6. Convert all fonts to outlines, or embed them in your file

    To avoid issues with fonts when submitting your file(s), make sure to convert fonts to outlines, or to embed all fonts when saving to PDF.

  • 7. Save and upload your artwork files as PDF/X-1a

    The best format for submitting print-ready files is PDF, under the PDF/X-1a standard. Where possible, submit your files in PDF format. See why PDF/X-1a is the right format for printing.

  • 8. Check for overprint

    Make sure that no elements are set on overprint, unless you need them to be.

Our free templates provide you with all the information you need to correctly prepare your artwork files for printing. Simply download the template that matches your desired product configuration.

If you have any questions about the product and ordering process, please have a look at our Frequently Asked Questions (FAQ) Click here!. If can't find your question in our FAQ section, you can reach our friendly customer support on +603 7890 1347.

  • 1. What is the fastest delivery for n?

    The fastest delivery time for n is d. Please note that you have to submit your order before 11:00 AM (AEST). Late payment or upload of your artwork might further delay your order. If you select Online Proof or Digital Proof Print during the checkout process, the production will only begin after your approval.

  • 2. How will my product be delivered?

    All of our products are delivered in a securely packed cardboard box.

  • 3. I can't find what I'm looking for. Can I request a quote?

    If you can't find what you need, please call our customer service team at the above-mentioned number to help you place an order. You can also request a quote from our customer service team for special product configurations that are not available on our website.

  • 4. How can I upload my files?

    Your file can be uploaded either before you checkout and pay, or after. Please note that uploading files late might result in a moved expected delivery date.

  • 5. Which formats can I upload?

    For n, please upload your files using the PDF or AI file format.