


STEP 1Choose Your Options
Need help configuring your product or preparing your artwork?
50490, Kuala Lumpur
Design Service
Choose Design Service
Table Tents
Format
Choose Format
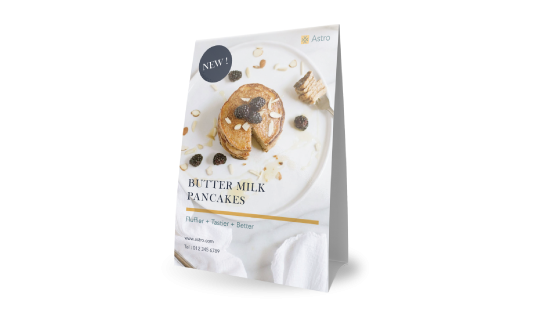
Infos & Tips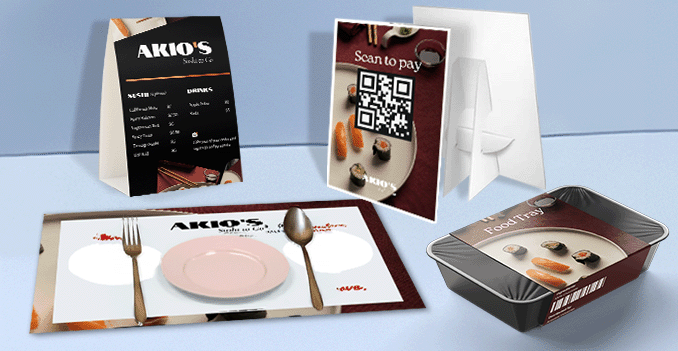 Experience our four versatile sizes of table tents, ranging from small to large, to suit various display needs and spaces. Whether you’re looking for a compact option for tight desks or a larger size to showcase bold visuals and more information, our size options provide the flexibility to match your design and function. Each size is thoughtfully selected to ensure your table tents stands firm, looks great, and fits perfectly in any setting.
We provide a range of sizes, from small to large, ensuring the ideal fit for any tabletop or space.
Experience our four versatile sizes of table tents, ranging from small to large, to suit various display needs and spaces. Whether you’re looking for a compact option for tight desks or a larger size to showcase bold visuals and more information, our size options provide the flexibility to match your design and function. Each size is thoughtfully selected to ensure your table tents stands firm, looks great, and fits perfectly in any setting. We provide a range of sizes, from small to large, ensuring the ideal fit for any tabletop or space.
How to choose the perfect fit?
If you have a design, verify its dimensions using Adobe Acrobat's 'Check Document Property' function; discover more details here. Don't have a design yet? Utilize our templates tailored for the specified sizes.Side Of Print
Choose Side Of Print
Infos & Tips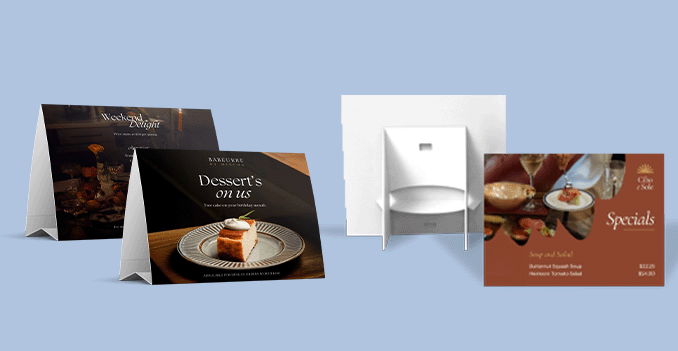 Maximize visual impact with full-color, double sided printing.
Maximize visual impact with full-color, double sided printing.Bring your table tents to life with full-color printing.
Enhance your table tents with vibrant full-color printing on both sides of each panel. This premium feature creates a dynamic, eye-catching display—perfect for showcasing stunning visuals on one side and clear, informative content on the other. Whether you’re highlighting beautiful imagery, brand elements, or providing space for promotions and notes, double-sided printing maximizes impact and functionality. With rich colors and sharp detail throughout, your table tent will captivate attention from every angle.Paper Type
Choose Paper Type
Infos & Tips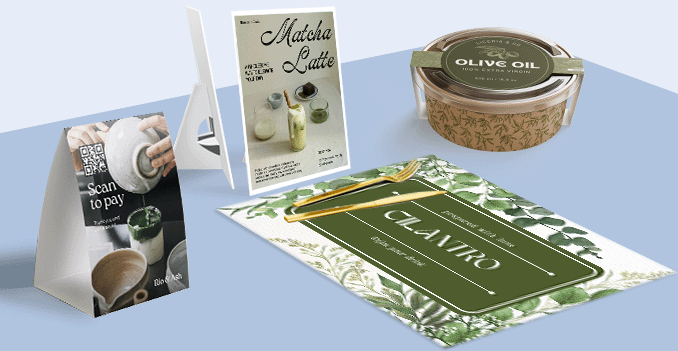 Discover a paper materials, each designed to meet your unique needs and preferences.
Discover a paper materials, each designed to meet your unique needs and preferences.Which paper weight should you choose?
We offer two high-quality paper options for your table tents: 260g and 310g art card. These durable, smooth art cards provide an excellent surface for vibrant, sharp printing. The 260g art card offers a lightweight yet sturdy feel, while the 310g art card provides a thicker, more substantial weight for a premium finish. Both options ensure your table tents are not only visually striking but also durable, making them perfect for both promotional and personal displays.Finishing
Choose Finishing
Infos & Tips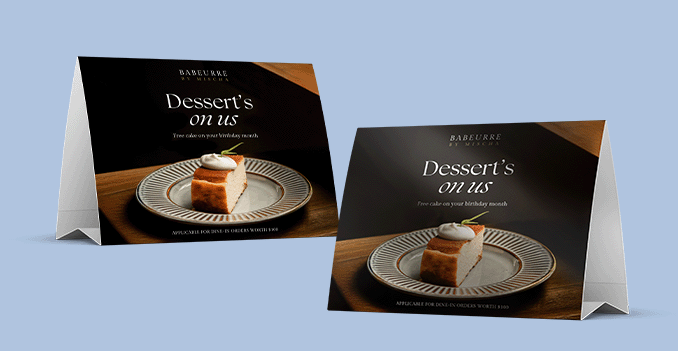 Explore our range of lamination options, designed to add a touch of refinement to your prints.
Explore our range of lamination options, designed to add a touch of refinement to your prints.Wondering how to choose the perfect finishing for your table tents?
We offer both matte and glossy lamination options for your table tents, adding durability and a refined finish. Matte lamination gives your table tents a soft, elegant look with a smooth, non-reflective surface, while glossy lamination enhances color vibrancy, delivering a shiny, high-impact finish. Both options provide protection against wear and tear, ensuring your table tents maintain a professional and polished appearance over time.STEP 2
Choose a Quantity & Delivery Date
Please select the price below to see the cutoff time.
Quantities
Receive your products by
15 pcs
25 pcs
50 pcs
100 pcs
200 pcs
300 pcs
500 pcs
1,000 pcs
2,000 pcs
3,000 pcs
5,000 pcs
10,000 pcs
Can't find the quantity you're looking for? You can add a custom quantity you want
Set Custom Quantity
Your products will be delivered within a specified timeframe after you approve the final design / online proof.


