


DIY Kraft Money PacketsQuick Links
Quick Links
undefined
MYR 46.05
Per 50 pcsFast Delivery
Don't know where to start from?
STEP 1Do you have a design ready?
STEP 2Choose Your Options
Need help configuring your product or preparing your artwork?
50490, Kuala Lumpur
DIY Kraft Money Packets
Format
Choose Format
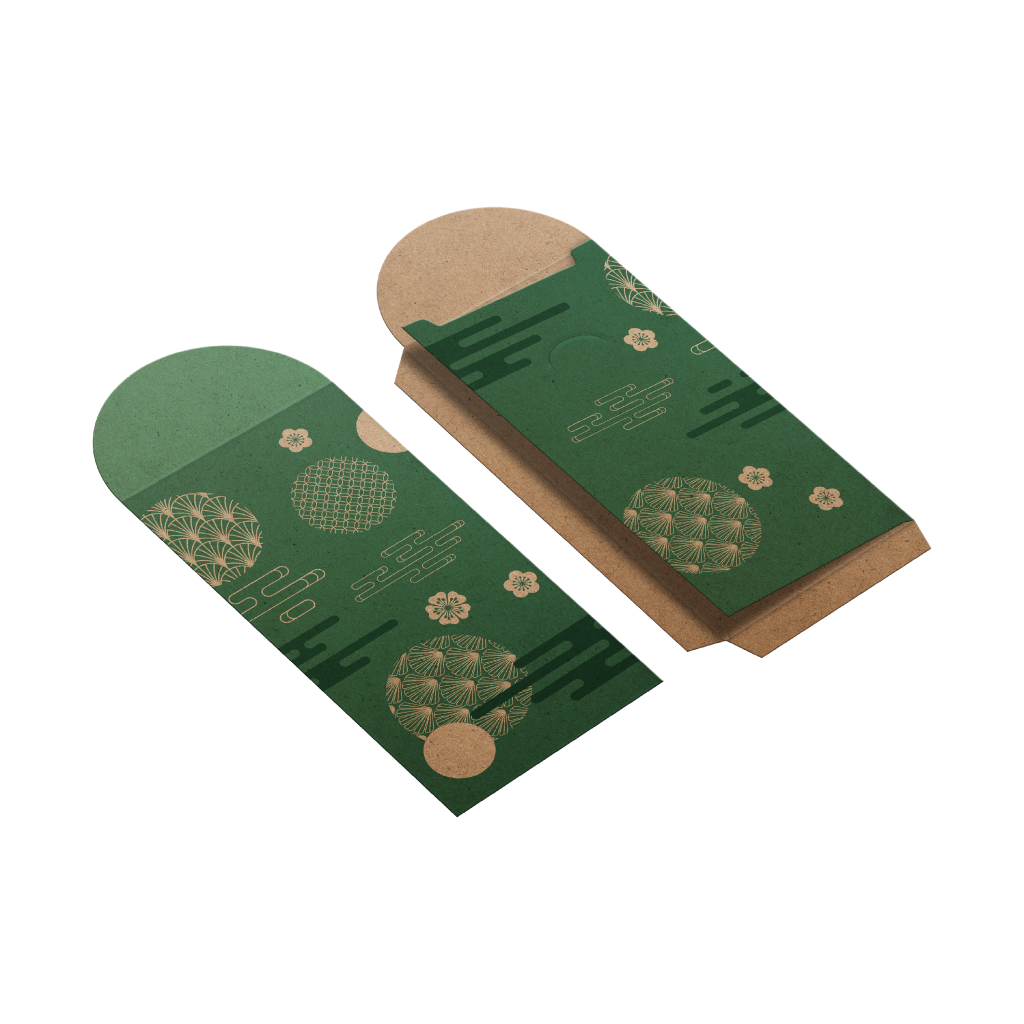
Infos & Tips Experience our DIY kraft money packets in a single format, measuring 25.99 x 21.6 cm after folding. Made from eco-friendly kraft paper, these customizable packets provide a rustic and natural look, perfect for personalizing with your own designs, messages, or artwork. Ideal for DIY projects, events, or special occasions, our kraft money packets offer a unique and sustainable way to present gifts or create memorable, branded experiences.
Elevate your gifting experience with our quality and style DIY Kraft Money Packets.
Experience our DIY kraft money packets in a single format, measuring 25.99 x 21.6 cm after folding. Made from eco-friendly kraft paper, these customizable packets provide a rustic and natural look, perfect for personalizing with your own designs, messages, or artwork. Ideal for DIY projects, events, or special occasions, our kraft money packets offer a unique and sustainable way to present gifts or create memorable, branded experiences. Elevate your gifting experience with our quality and style DIY Kraft Money Packets.
How to choose the perfect fit?
If you have a design, verify its dimensions using Adobe Acrobat's 'Check Document Property' function; discover more details here. Don't have a design yet? Utilize our templates tailored for the specified sizes.Side Of Print
Choose Side Of Print
Infos & Tips We offer full color printing for inside and outside and outside only for your money packets.
We offer full color printing for inside and outside and outside only for your money packets.How to choose your option?
Feel our full-color printing for your money packets, allowing for vibrant and eye-catching designs. You can choose to print on both the inside and outside of the packet for a fully customized look, or opt for outside-only printing for a more streamlined design. This flexibility ensures your money packets perfectly match your vision, whether for special events, promotions, or personal use.Paper Type
Choose Paper Type
Infos & Tips Discover our paper materials, each designed to meet your unique needs and preferences.
Discover our paper materials, each designed to meet your unique needs and preferences.Feels our premium 175g brown kraft paper for DIY kraft money packets.
We only offer a 175g brown kraft paper option, specifically designed for DIY Kraft Money Packets. This durable, eco-friendly paper provides the perfect balance of strength and a natural, professional look for your packaging needs.Cutting Option
Choose Cutting Option
Infos & Tips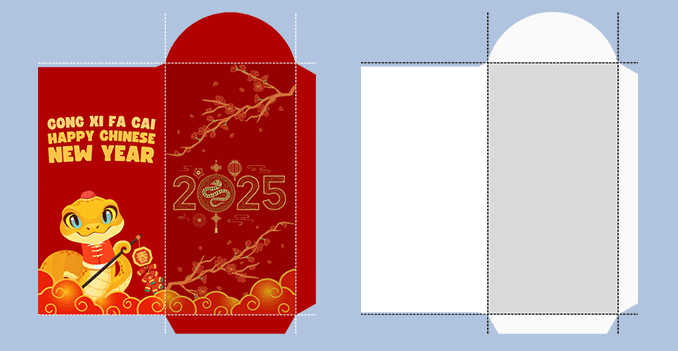 Custom self-cut and die-cut refinement for your DIY kraft money packets.
Custom self-cut and die-cut refinement for your DIY kraft money packets.How can self-cut and die-cut refinement enhance your money packets?
We offer self-cut and die-cut refinement services for money packets. Our self-cut service allows for custom, manually shaped designs, perfect for unique or small orders. The die-cut service provides precision and consistency for larger, more intricate designs, ideal for bulk production. Both methods ensure high-quality, beautifully crafted money packets for any occasion.STEP 3
Choose a Quantity & Delivery Date
Please select the price below to see the cutoff time.
Quantities
Receive your products by
50 pcs
100 pcs
200 pcs
300 pcs
500 pcs
1,000 pcs
2,000 pcs
3,000 pcs
5,000 pcs
10,000 pcs
Can't find the quantity you're looking for? You can add a custom quantity you want
Set Custom Quantity


