


Help
Talk to Us
+603 7890 1347
All Products
Need help? Reach out to us

Need Help with Your Order?

Reach out now for quick support!

Add whatsapp
Need help? Reach out to us

Stand Up Pouch
Quick Links

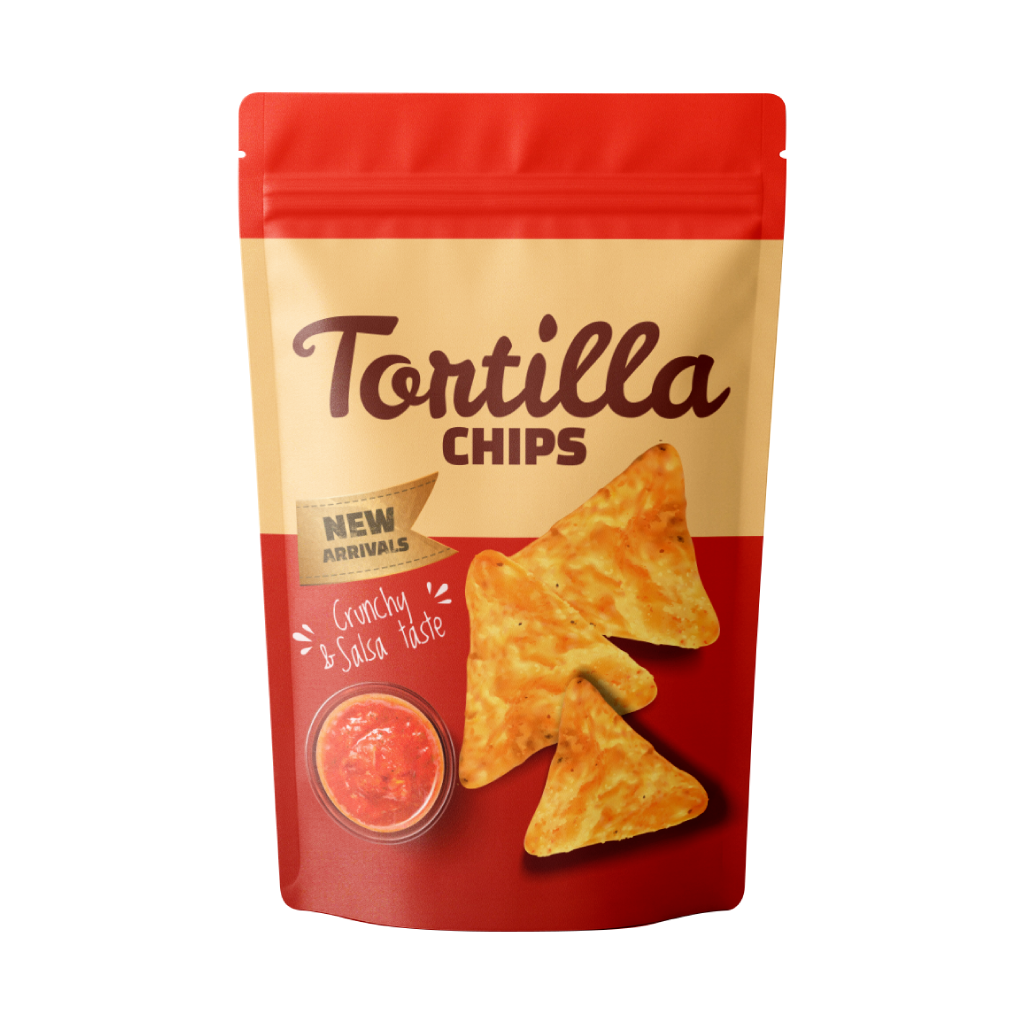
Stand Up Pouch is one of the most versatile marketing tools for any business. They are a quick and inexpensive way to share your contact details with business partners or new potential clients and play an important role in creating a lasting first impression.

MYR 291.00
Per 100 pcs
Fast Delivery
Product - 1
Product - 1
Don't know where to start from?
STEP 1Do you have a design ready?
STEP 2Choose Your Options
Need help configuring your product or preparing your artwork?
50490, Kuala Lumpur
Stand Up Pouch
Size
Choose Size
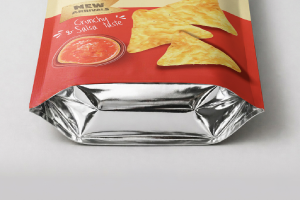
Infos & TipsDiscover our stand up pouches in a range of versatile sizes, designed to suit a variety of products from snacks and coffee to powders, supplements, and retail goods. Engineered for both functionality and presentation, these pouches feature a stable bottom gusset that allows them to stand neatly on shelves while maximizing storage efficiency. Whether you need compact packaging for samples or larger formats for bulk products, our stand up pouches provide a secure, professional solution that keeps contents fresh and visually appealing.
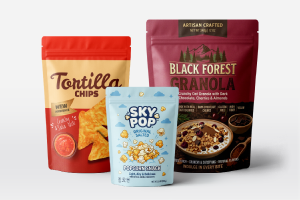
How to choose the perfect fit?If you have a design, verify its dimensions using Adobe Acrobat's 'Check Document Property' function; discover more details here. Don't have a design yet? Utilize our templates tailored for the specified sizes.
Side of Print
Choose Side of Print
Infos & TipsWe offer full-color front and back printing for all our stand up pouches.
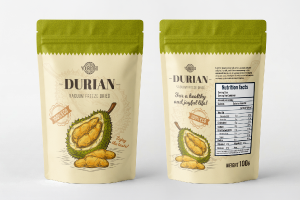
Why print on both sides?Double-sided printing gives you the flexibility to maximize your packaging design and brand communication. Showcase eye-catching visuals, logos, and product information on the front while utilizing the back for ingredients, instructions, nutritional facts, QR codes, or additional branding elements. This approach creates a more premium, professional presentation while making full use of your packaging space to engage customers and strengthen brand recognition.
Material
Choose Material
Infos & TipsDiscover our premium packaging material, carefully selected to provide both product protection and outstanding presentation.
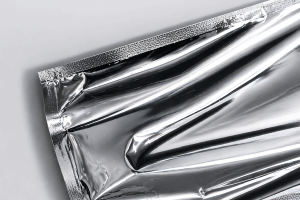
Why do we use Metalised PET Film for stand up pouches?For our stand up pouches, we use Metalised PET Film, a durable, high-performance material known for its excellent barrier properties and sleek metallic finish. This material helps protect products from moisture, oxygen, light, and external contaminants, making it ideal for preserving freshness and extending shelf life. Its smooth surface also delivers vibrant, high-quality print results that enhance branding and shelf appeal. Chosen for its strength, reliability, and premium appearance, Metalised PET Film gives your stand up pouches a professional look while ensuring practical, long-lasting packaging performance.
Seal
Choose Seal
Infos & TipsDiscover our convenient resealable zipper feature, designed to enhance both functionality and user experience.
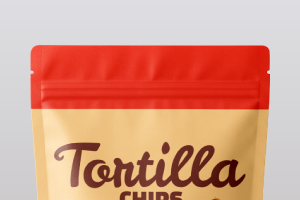
Why do we use resealable zippers for stand up pouches?For our stand up pouches, we include a resealable zipper to provide added convenience, freshness, and product protection. This feature allows customers to easily open and securely reseal the pouch after each use, helping to maintain product quality while reducing spills and exposure to air or moisture. Ideal for snacks, powders, coffee, pet treats, and other consumable products, the resealable zipper adds practical value while giving the packaging a more premium, user-friendly appeal. Chosen for its durability and convenience, this feature helps create packaging that is both functional and professionally presented.
Finishing
Choose Finishing
Infos & TipsDiscover our matte finishing feature, designed to deliver a sophisticated appearance, enhanced texture, and premium shelf appeal.
Why do we use matte finishing for stand up pouches?For our stand up pouches, we apply a high-quality matte finish that creates a smooth, non-reflective surface for a modern and elegant presentation. This finish helps reduce glare and visible fingerprints while allowing branding elements, colors, and product designs to appear more refined and professional. Ideal for a wide range of food and retail packaging, matte finishing enhances the overall look and feel of the pouch, giving your products a premium appearance that strengthens brand image and customer appeal.
STEP 3

Choose a Quantity & Delivery Date

Please select the price below to see the cutoff time.
Quantities
Receive your products by
100 pcs
200 pcs
300 pcs
400 pcs
500 pcs
1,000 pcs
Fri, 5 Jun
Fastest
Can't find the quantity you're looking for? You can add a custom quantity you want
Set Custom Quantity

Product's quantity must be more than 100 pcs and less than 1,000 pcs. In the multiples of 50

Information
Artwork Preparation

Please follow our artwork preparation guidelines to ensure that your artwork file is set up correctly.

  • 1. Add 3 mm of bleed

    During the production of paper products, slight cutting imperfections are to be expected - cutting can be off by a couple of millimeters from the cutting line. To allow leeway for such imperfections, you should add 3 mm of bleed on all edges of your artwork. Make sure all colors, background pictures, and elements extend to the edge of the bleed area, to avoid the appearance of white borders on certain edges after cutting. Learn more how to set up the bleed here.

  • 2. Keep your content within a 3 mm safety margin

    To ensure that no important elements (text, graphics, images) get cut off from your paper product, make sure to keep such elements at least 3 mm away from the edge of your finished product dimensions. Click here to know how to set up 3 mm safety margin.

  • 3. Use CMYK colour mode

    Except for silkscreen and pad printing, files should be prepared in CMYK colour mode. Keep in mind that if the setup is wrong, colours on the finished product may differ from the file you sent. Here is how to set your artwork to CMYK colour mode in Adobe Illustrator.

  • 4. Use an image resolution of at least 300 DPI

    To avoid blurriness, use only images and graphics that have a resolution of 300 DPI or more at actual size. Before sending your files, make sure to embed your images into the file. Read more about how to check the resolution of your assets.

  • 5. Use the right values for grey elements

    When setting up grey elements, set the black color (K) to a percentage between 0 and 100, and keep all other colors (C, M, and Y) equal to 0%.

  • 6. Use the right values for black elements

    When setting up black text, thin lines and small elements, use pure black, (i.e. C = 0, M = 0, Y = 0, K = 100). Text, thin lines, and small elements in pure black color should be set to overprint to avoid white gaps around the text. It will give a solid edge to those elements.

  • 7. Use maximum 2 colours for lines that are finer than 2 pt

    If lines are 2 pt thick or less, use only 1 or 2 colours. 4 colours may be used for thicker lines.

  • 8. Save and upload your artwork files as PDF/X-1a

    The best format for submitting print-ready files is PDF, under the PDF/X-1a standard. Where possible, submit your files in PDF format. See why PDF/X-1a is the right format for printing.

  • 9. Check for overprint

    Make sure that no elements are set on overprint, unless you need them to be.

Templates

Our free templates provide you with all the information you need to correctly prepare your artwork files for printing. Simply download the template that matches your desired product configuration.

FAQ

If you have any questions about the product and ordering process, please have a look at our Frequently Asked Questions (FAQ) Click here!. If can't find your question in our FAQ section, you can reach our friendly customer support on +603 7890 1347.

  • 1. What is the fastest delivery for n?

    The fastest delivery time for n is d. Please note that you have to submit your order before 11:00 AM (AEST). Late payment or upload of your artwork might further delay your order. If you select Online Proof or Digital Proof Print during the checkout process, the production will only begin after your approval.

  • 2. How will my product be delivered?

    All of our products are delivered in a securely packed cardboard box.

  • 3. I can't find what I'm looking for. Can I request a quote?

    If you can't find what you need, please call our customer service team at the above-mentioned number to help you place an order. You can also request a quote from our customer service team for special product configurations that are not available on our website.

  • 4. How can I upload my files?

    If your artwork contains more than one page, you can either upload a single file which contains all pages, or upload separate files each containing one page. Your file(s) can be uploaded either before you checkout and pay, or after. Please note that uploading files late might result in a moved expected delivery date.

  • 5. Which formats can I upload?

    The best format for submitting print-ready files is PDF, under the PDF/X-1a standard. Learn how to save your artwork using PDF/X-1a standard in Adobe Illustrator. However, you can also upload your file in JPEG, PNG, PSD, EPS, TIFF or AI format for an additional fee of RM 25.00. Our graphic designers will then convert your file into a print-ready PDF file.

Guides and Tools

Everything you need to know to get your Artwork ready

Please follow our artwork preparation guidelines to ensure that your artwork file is set up correctly.

  • 1. Add 3 mm of bleed

    During the production of paper products, slight cutting imperfections are to be expected - cutting can be off by a couple of millimeters from the cutting line. To allow leeway for such imperfections, you should add 3 mm of bleed on all edges of your artwork. Make sure all colors, background pictures, and elements extend to the edge of the bleed area, to avoid the appearance of white borders on certain edges after cutting. Learn more how to set up the bleed here.

  • 2. Keep your content within a 3 mm safety margin

    To ensure that no important elements (text, graphics, images) get cut off from your paper product, make sure to keep such elements at least 3 mm away from the edge of your finished product dimensions. Click here to know how to set up 3 mm safety margin.

  • 3. Use CMYK colour mode

    Except for silkscreen and pad printing, files should be prepared in CMYK colour mode. Keep in mind that if the setup is wrong, colours on the finished product may differ from the file you sent. Here is how to set your artwork to CMYK colour mode in Adobe Illustrator.

  • 4. Use an image resolution of at least 300 DPI

    To avoid blurriness, use only images and graphics that have a resolution of 300 DPI or more at actual size. Before sending your files, make sure to embed your images into the file. Read more about how to check the resolution of your assets.

  • 5. Use the right values for grey elements

    When setting up grey elements, set the black color (K) to a percentage between 0 and 100, and keep all other colors (C, M, and Y) equal to 0%.

  • 6. Use the right values for black elements

    When setting up black text, thin lines and small elements, use pure black, (i.e. C = 0, M = 0, Y = 0, K = 100). Text, thin lines, and small elements in pure black color should be set to overprint to avoid white gaps around the text. It will give a solid edge to those elements.

  • 7. Use maximum 2 colours for lines that are finer than 2 pt

    If lines are 2 pt thick or less, use only 1 or 2 colours. 4 colours may be used for thicker lines.

  • 8. Save and upload your artwork files as PDF/X-1a

    The best format for submitting print-ready files is PDF, under the PDF/X-1a standard. Where possible, submit your files in PDF format. See why PDF/X-1a is the right format for printing.

  • 9. Check for overprint

    Make sure that no elements are set on overprint, unless you need them to be.

Our free templates provide you with all the information you need to correctly prepare your artwork files for printing. Simply download the template that matches your desired product configuration.

If you have any questions about the product and ordering process, please have a look at our Frequently Asked Questions (FAQ) Click here!. If can't find your question in our FAQ section, you can reach our friendly customer support on +603 7890 1347.

  • 1. What is the fastest delivery for n?

    The fastest delivery time for n is d. Please note that you have to submit your order before 11:00 AM (AEST). Late payment or upload of your artwork might further delay your order. If you select Online Proof or Digital Proof Print during the checkout process, the production will only begin after your approval.

  • 2. How will my product be delivered?

    All of our products are delivered in a securely packed cardboard box.

  • 3. I can't find what I'm looking for. Can I request a quote?

    If you can't find what you need, please call our customer service team at the above-mentioned number to help you place an order. You can also request a quote from our customer service team for special product configurations that are not available on our website.

  • 4. How can I upload my files?

    If your artwork contains more than one page, you can either upload a single file which contains all pages, or upload separate files each containing one page. Your file(s) can be uploaded either before you checkout and pay, or after. Please note that uploading files late might result in a moved expected delivery date.

  • 5. Which formats can I upload?

    The best format for submitting print-ready files is PDF, under the PDF/X-1a standard. Learn how to save your artwork using PDF/X-1a standard in Adobe Illustrator. However, you can also upload your file in JPEG, PNG, PSD, EPS, TIFF or AI format for an additional fee of RM 25.00. Our graphic designers will then convert your file into a print-ready PDF file.