Offset Adhesive Bound BookletsQuick Links
Quick Links
Booklets are one of the most versatile marketing tools for any business. They are a quick and inexpensive way to share your contact details with business partners or new potential clients and play an important role in creating a lasting first impression
MYR 1,315.26
Per 100 pcsFast Delivery
Don't know where to start from?
STEP 1Do you have a design ready?
STEP 2Choose Your Options
Need help configuring your product or preparing your artwork?
50490, Kuala Lumpur
Offset Adhesive Bound Booklets
Format
Choose Format
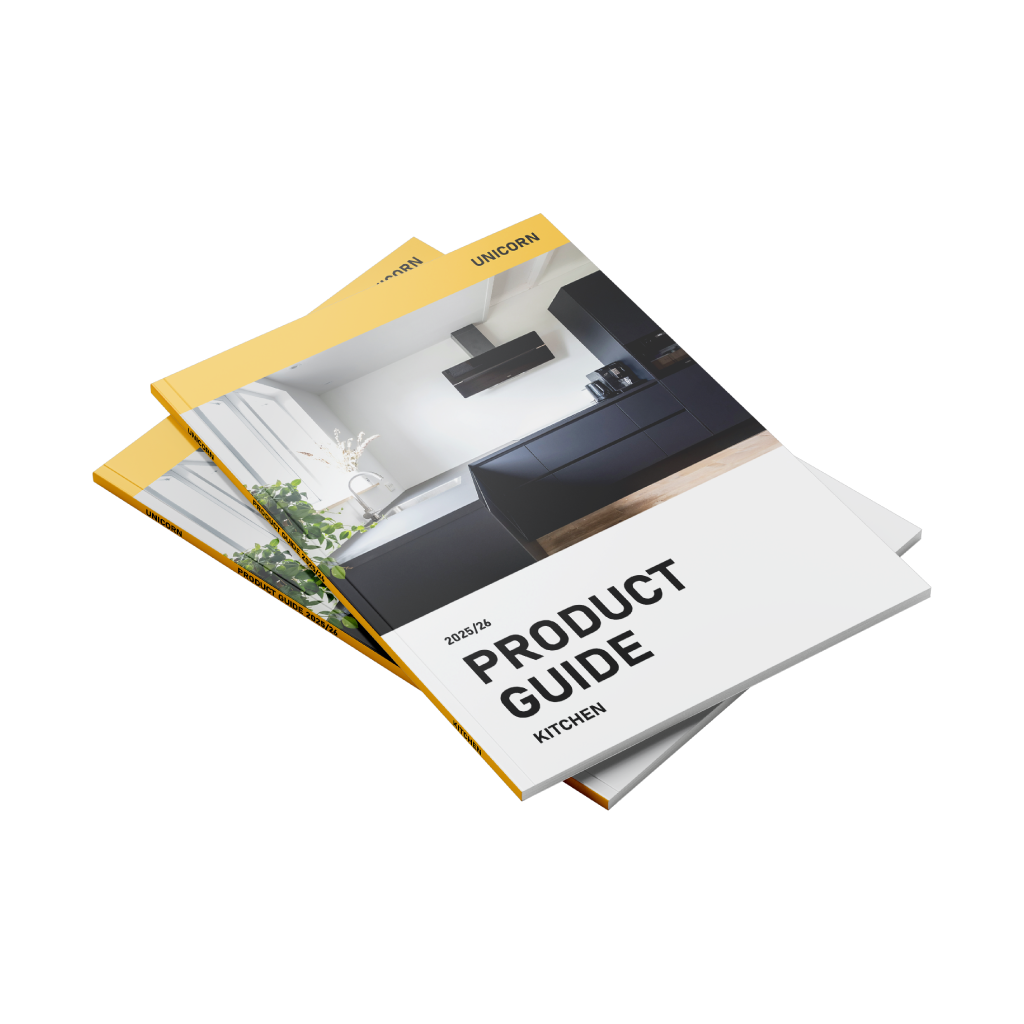
Infos & Tips Elevate your Offset Adhesive Bound for your booklets, providing a premium, professional finishing. This binding method uses a strong adhesive to securely bind the pages, creating a sleek, durable spine that’s ideal for larger or high-page-count projects. Perfect for catalogs, brochures, and annual reports, our offset bound booklets ensure a polished, high-quality appearance, with pages that lay flat for easy reading and handling. We offer both portrait and landscape formats, allowing you to choose the ideal orientation for your content and presentation.
Transform your content with our Offset Adhesive Bound Booklets.
Elevate your Offset Adhesive Bound for your booklets, providing a premium, professional finishing. This binding method uses a strong adhesive to securely bind the pages, creating a sleek, durable spine that’s ideal for larger or high-page-count projects. Perfect for catalogs, brochures, and annual reports, our offset bound booklets ensure a polished, high-quality appearance, with pages that lay flat for easy reading and handling. We offer both portrait and landscape formats, allowing you to choose the ideal orientation for your content and presentation.Transform your content with our Offset Adhesive Bound Booklets.
How to choose the perfect fit?
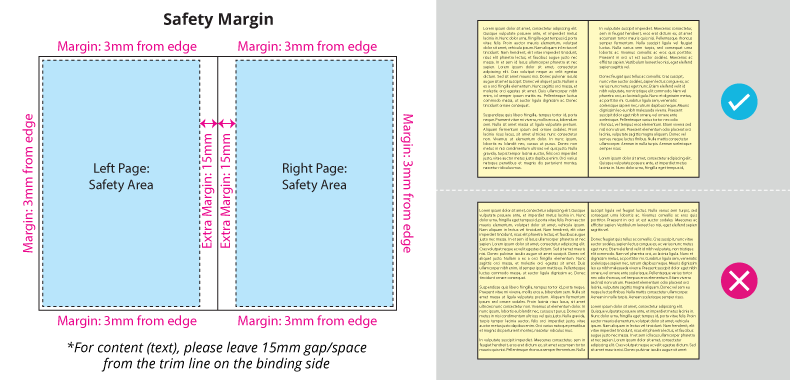
If you have a design, verify its dimensions using Adobe Acrobat’s 'Check Document Property' function; learn morehereDon’t have a design yet? Use our templates specifically tailored for the available sizes.Bookbinding
Choose Bookbinding
Infos & Tips Experience professional adhesive binding for durable, high-quality booklets.
Experience professional adhesive binding for durable, high-quality booklets.Why should you choose adhesive binding?
We specialize in adhesive binding for large-page count booklets, delivering a professional and durable finish. This method uses strong adhesive to bind the pages, creating a clean, secure spine with a polished, high-quality appearance. Ideal for larger booklets, catalogs, and brochures, adhesive binding ensures a smooth, flat lay for easy handling and reading.Number of Pages (Including Cover Pages)
Choose Number of Pages (Including Cover Pages)
Infos & Tips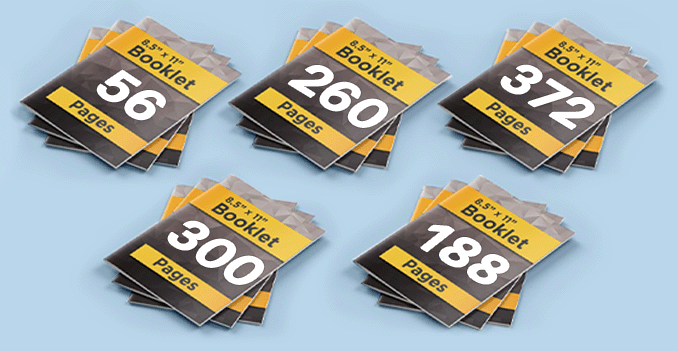 Endless page customization for your ideal booklet.
Endless page customization for your ideal booklet.Choose your perfect page count.
We offer a wide range of page options for your booklet, with choices from 56 pages to 404 pages, allowing you to customize the length and layout to perfectly suit your needs. Whether you're creating a small informational booklet or a comprehensive multi-page publication, we provide flexible solutions to ensure your booklet is visually appealing and effectively communicates your message. Our team will collaborate with you to design the ideal structure, ensuring every page serves its purpose.Cover information
Paper Type
Choose Paper Type
Infos & Tips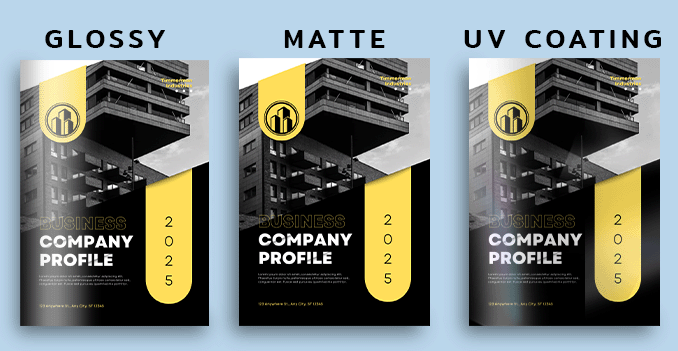 Discover a variety of paper materials, each designed to meet your unique needs and preferences.
Discover a variety of paper materials, each designed to meet your unique needs and preferences.Which material should I choose?
We offer a variety of high-quality paper options for your booklet, including Simili paper, Art paper, and Art card. Simili paper provides a smooth, economical option with a professional finish, perfect for a wide range of uses. Art paper offers a slightly textured surface, ideal for vibrant color printing and a premium feel. For a more luxurious and durable option, Art card provides a heavier weight with a smooth, glossy finish, ensuring your booklet makes a lasting impression. Whatever your needs, we have the perfect paper to suit your booklets.Colors
Choose Colors
Infos & Tips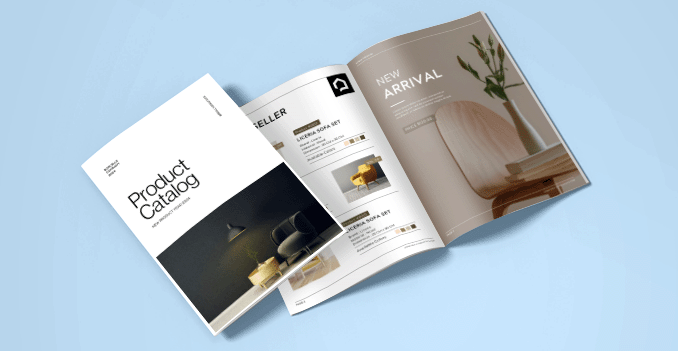 We only offer double sided printing.
We only offer double sided printing.Why do we offer front and back?
We are offering double sided printing for your booklet, available in both full color and black and white options. This allows you to make the most of your booklet’s pages, providing more content while maintaining a high-quality and professional presentation. Whether you choose vibrant color or classic black and white, our two sided printing ensures your booklet meets your exact specifications.Finishing
Choose Finishing
Infos & Tips Experince our range of lamination options, designed to add a touch of refinement to your prints.
Experince our range of lamination options, designed to add a touch of refinement to your prints.Wondering how to choose the perfect finishing for your booklets?
We offer both matte and glossy lamination options for your booklet, providing added durability and a polished finish. Matte lamination gives your booklet a soft, elegant look with a smooth, non-reflective surface, while glossy lamination enhances color vibrancy with a shiny, high-impact finish. Both options protect your booklet from wear and tear, ensuring it maintains a professional appearance over time.Content information
Paper Type
Choose Paper Type
Infos & TipsDiscover a variety of paper materials, each designed to meet your unique needs and preferences.
Discover a variety of paper materials, each designed to meet your unique needs and preferences.Which material should you choose?
We offer a variety of high-quality paper options for your booklet, including Simili paper, Art paper, and Art card. Simili paper provides a smooth, economical option with a professional finish, perfect for a wide range of uses. Art paper offers a slightly textured surface, ideal for vibrant color printing and a premium feel. For a more luxurious and durable option, Art card provides a heavier weight with a smooth, glossy finish, ensuring your booklet makes a lasting impression. Whatever your needs, we have the perfect paper to suit your booklets.Colors
Choose Colors
Infos & TipsWe only offer double sided printing.
We only offer double sided printing.Why do we offer front and back?
We are offering double sided printing for your booklet, available in both full color and black and white options. This allows you to make the most of your booklet’s pages, providing more content while maintaining a high-quality and professional presentation. Whether you choose vibrant color or classic black and white, our two sided printing ensures your booklet meets your exact specifications.Finishing
Choose Finishing
Infos & TipsExperince our range of lamination options, designed to add a touch of refinement to your prints.
Experince our range of lamination options, designed to add a touch of refinement to your prints.Wondering how to choose the perfect finishing for your booklets?
We offer both matte and glossy lamination options for your booklet, providing added durability and a polished finish. Matte lamination gives your booklet a soft, elegant look with a smooth, non-reflective surface, while glossy lamination enhances color vibrancy with a shiny, high-impact finish. Both options protect your booklet from wear and tear, ensuring it maintains a professional appearance over time.STEP 3
Choose a Quantity & Delivery Date
Please select the price below to see the cutoff time.
Quantities
Receive your products by
100 pcs
200 pcs
300 pcs
500 pcs
1,000 pcs
2,000 pcs
3,000 pcs
5,000 pcs
10,000 pcs
Can't find the quantity you're looking for? You can add a custom quantity you want
Set Custom Quantity