You’re ready to print your hotstamped business cards, you also have a file ready to print on that promotional pen you had eyes on. You click on the “proceed” button, all set and done, right?
Well… not quite.
A new artwork issue arises, and it suggests that the artwork you submitted is not a vector. You try to submit your artwork again, only to be met with the same result. Which prompts you to ask “What is a vector?” or “How do I make my artwork a vector?”
Well, we may have the solution and the answer. Here in Gogoprint, we will try our best to guide you through the basics of vector and how to create a vectorized artwork in a few steps.
What is Vector?
Vector, or vector images, are made using mathematical formulas between various parts of a single image, which may consist of shapes, points, lines, arcs and more. Most company logos for example, are created as a vector file so they can be applied to different types of media.
On most occasions, vector files are even mandatory for printing, such as printing with our spotvarnished business cards, hotstamping business cards, stickers and promotional items.
For more information in regards to Vectors, you can check out our other article.
File Formats for Vector
Before we begin with our tutorial, we should start with the basics, and that is file formats. Vectors come in specific formats, exporting the wrong file format can render vectors unworkable. The below formats are the few formats that work with vectors:
- EPS
- Ai
- SVG
As for the details of these file formats, you can refer to this article.
Vectorizing Your Artwork
With the basics out of the way, let's delve into the ways to convert your artwork, into a “vector”. Here, we will be using Adobe Illustrator software to do the conversion, so be sure to have the software before you start the process.
Things to note:
Vectors usually consist of simple graphic elements. The simpler your artwork is, the easier it is to convert / create the vector. Complicated images like photos are not feasible to “vectorize” for print.
Method A: Live / Image Trace
This method is a built in function in Adobe Illustrator. While useful, it is not practical in a lot of cases. However you can still use this method if you have no other options.
Step 1
Open your artwork with the Adobe Illustrator
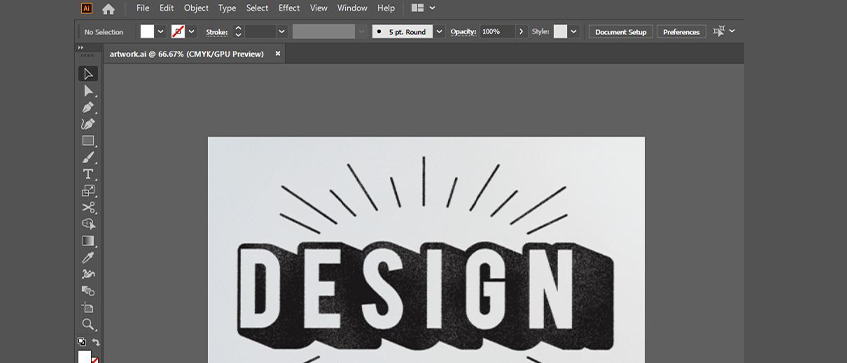
Step 2
Click on the image you want to vectorize, an extra tab will appear on the top area, and you will see the button called “Image Trace”
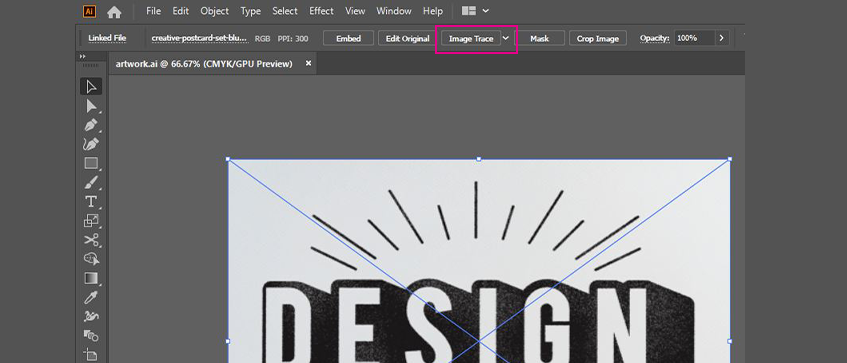
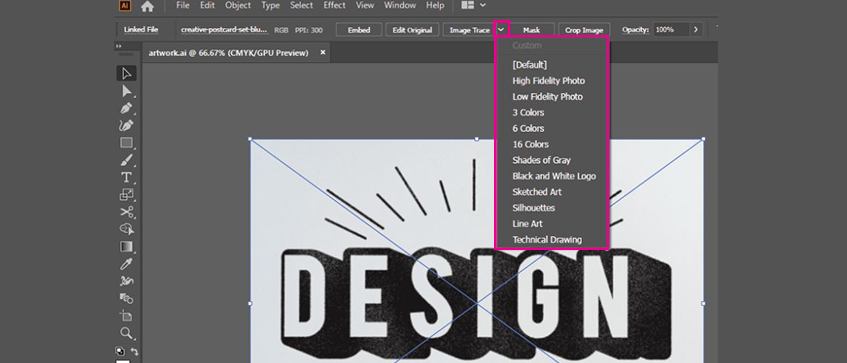
Step 3
Click on the arrow beside “Image Trace”, a list of options will appear. You can select a suitable option depending on your artwork. Do a trial and error with the options until you are satisfied with the traced artwork.
*NOTE: Artwork resolution plays a part in the vector “quality”, the better resolution your image is, the better the result
Step 4
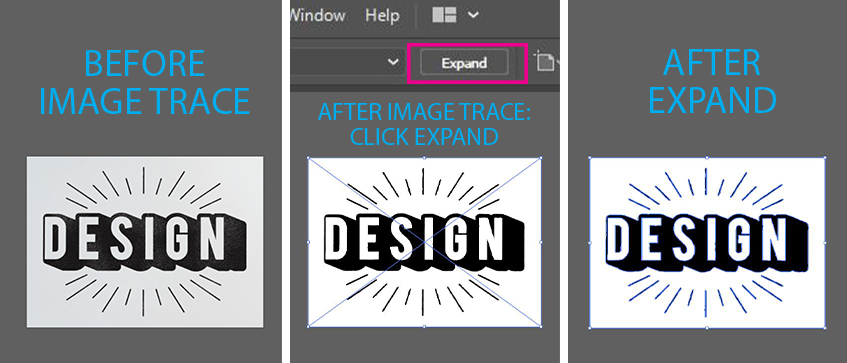
After the image trace, another button will appear. Click on the new button “Expand”. And your artwork will be vectorized.
*NOTE: As shown in the image example below, your image will appear different or less detailed depending on many factors.
Step 5
Delete the unwanted areas, simply click on the specific area and press the “delete” button.
You may need to ungroup the vectorized image first before you proceed with the deleting (Right click > Ungroup). ONLY keep the area you want vectorized. In the case of the image below, we deleted the white areas and kept the black areas.

Step 6
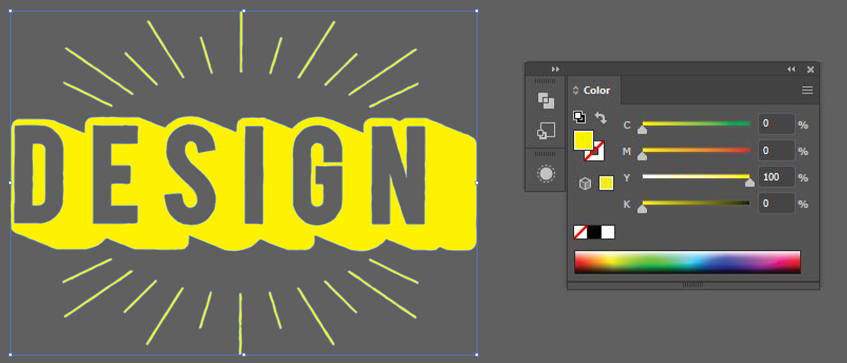
Vectorized artworks can be colored in Illustrator. Click on the vector, and set up the required color, or color of your preference. (Window>Color). In our image example below, we changed our image color from black to yellow.
Step 7
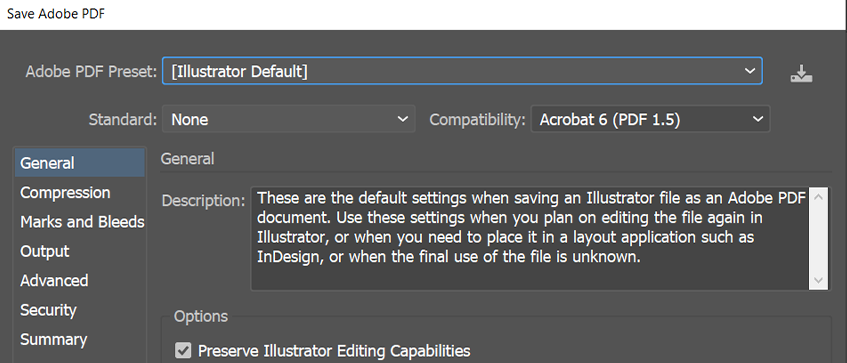
Save the file as PDF
Method B: Manually create vector
This is a more complicated process but is the most reliable one if done correctly. Here, we will briefly mention a few optional pointers to manually create, or vectorize your file. These methods also make your artwork a vector by default.
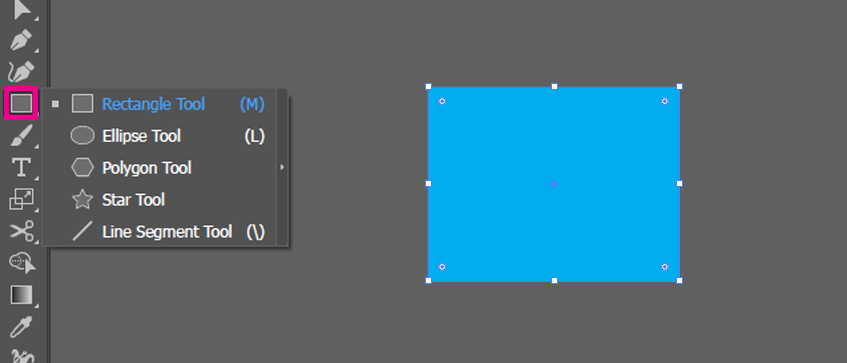
Option 1: Create Shapes
Access this tool bar on the left of your Illustrator, you can create a few simple shapes, like squares, triangles, stars by simply using this tool
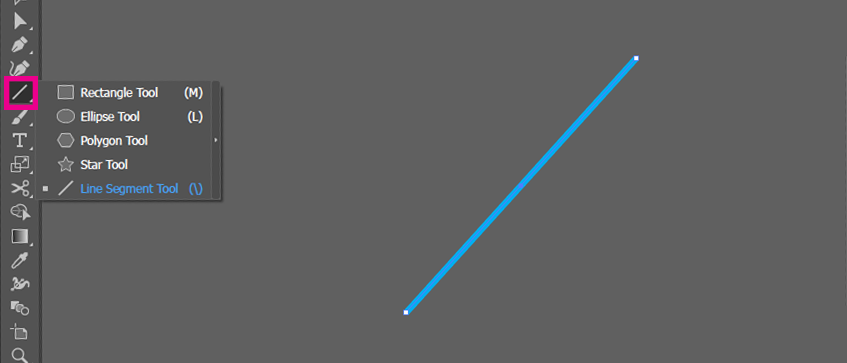
Option 2: Create Lines
Just like shapes, you can create lines with this tool
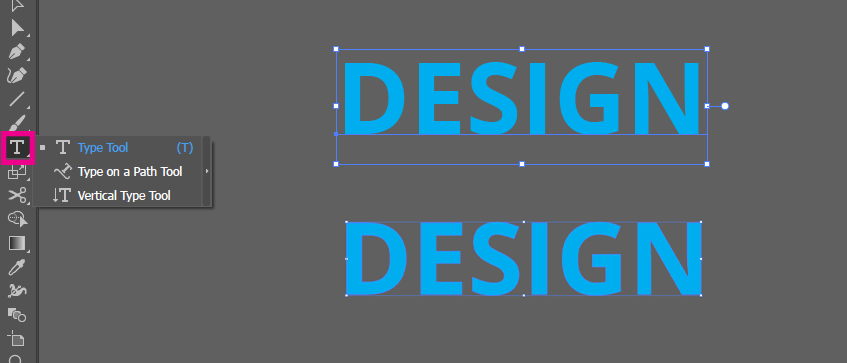
Option 3: Typing
For alphabets, you can already generate vectors simply by typing them out. You can also convert your fonts to outlines to make printing easier for us :)
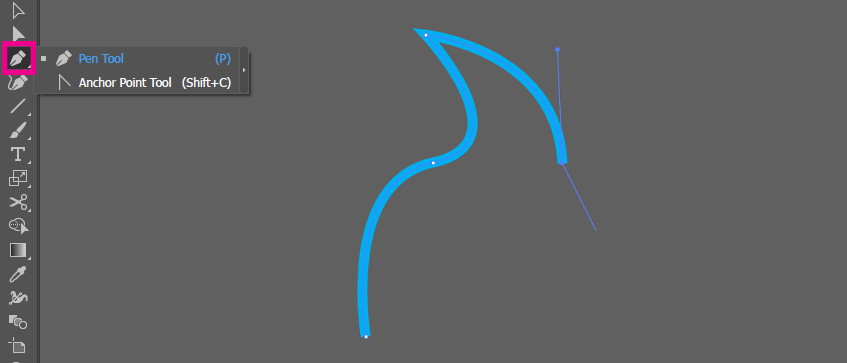
Option 4: Pen Tool
This tool is the most powerful vectorizing tool in illustrator, and is tricky to use. The Pen tool lets you determine your anchor points, and lets you adjust the lines or curves between these anchors. We won’t delve too much into how to utilize this tool, but if you’re able to master this tool, you would be the master of vectors :)
Wrap Up
We hope this tutorial can help you to vectorize your file easier. Vectors play an important role in design and printing, so it doesn’t hurt to learn ways to create your own vector. And who knows, you may utilize this skill of yours down the road? If you’re confident with your vectorized artwork, try printing with us and see the wonders of vector!